
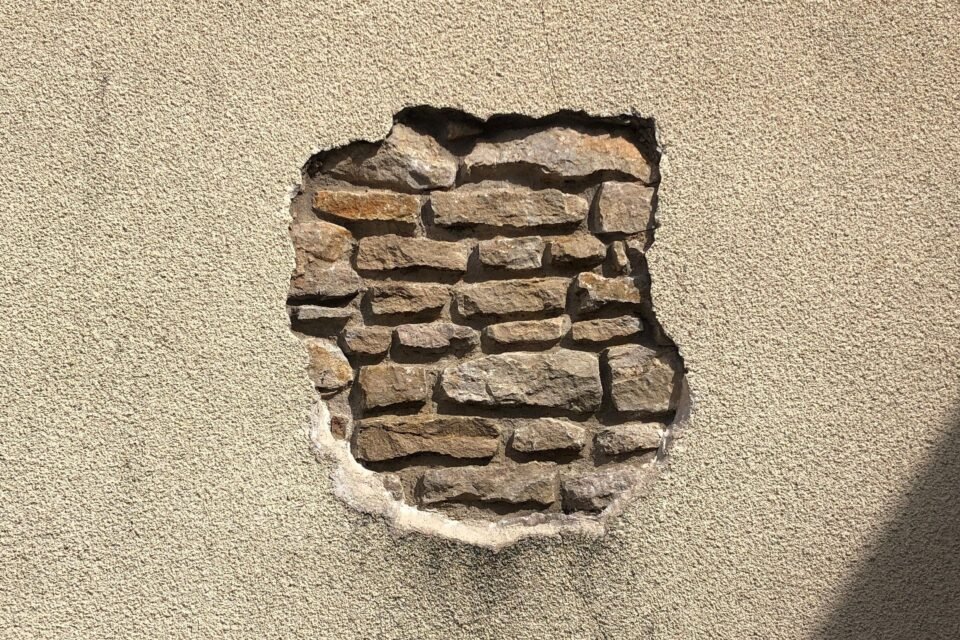
A hole in your wall can make an otherwise clean room look unfinished. It might come from a nail, a removed shelf, a door handle, or accidental damage during a home improvement project. The good news is that many wall repairs are manageable without hiring a professional.
Learning how to patch a hole in a wall starts with choosing the right repair method. Tiny nail holes usually need only spackling compound, while medium openings may require a drywall patch. Larger holes often need a replacement piece of drywall secured with backing.
This guide explains the tools, materials, and steps needed to repair small, medium, and large holes. How to Patch a Hole in a Wall You will also learn how to choose between spackle and joint compound, prepare damaged drywall, sand a patch, match wall texture, and paint the repaired area for a clean finish.
What Does Patching a Hole in a Wall Mean?
Wall patching is the process of filling or covering damaged areas with suitable repair materials to restore a smooth, stable surface. Depending on the damage, this may involve spackle, joint compound, drywall tape, a mesh patch, or a replacement piece of drywall.
The goal is not simply to cover the opening. How to Patch a Hole in a Wall A successful repair should be secure, level with the surrounding wall, and ready for primer and paint.
What You Need to Patch a Hole in a Wall
Before starting, gather the right tools and materials. Having everything ready helps prevent interruptions and reduces the risk of applying repair compound incorrectly.
Essential Tools for Wall Repair
Most basic drywall repair projects need these tools:
- Putty knife: Spreads spackle and fills small holes.
- Drywall knife: Applies joint compound over larger repair areas.
- Utility knife: Trims loose paper and damaged drywall edges.
- Drywall saw: Cuts clean openings for larger repairs.
- Measuring tape: Measures the damaged area and replacement drywall.
- Sanding sponge: Smooths dried compound and removes small ridges.
- Fine-grit sandpaper: Helps prepare the repaired surface for painting.
- Screwdriver or drill: Secures drywall screws and backing strips.
- Dust mask and safety glasses: Reduce exposure to sanding dust and debris.
- Drop cloth: Protects flooring and nearby furniture.
How to Patch a Hole in a Wall You may not need every tool for a small repair. A nail hole can often be fixed with a small putty knife, lightweight spackle, and fine sandpaper.
Materials for Small, Medium, and Large Holes
Choose your supplies according to the size and condition of the damage.
For tiny holes, use spackling compound or a suitable wall filler. How to Patch a Hole in a Wall Medium holes may need a self-adhesive drywall patch, fiberglass mesh, a metal patch, and joint compound.
Large holes generally require a replacement drywall piece, wood backing strips or suitable repair clips, drywall screws, drywall tape, and joint compound.
You may also need wall primer, matching interior paint, and a wall texture product. For plaster walls, choose materials designed for plaster repair instead of assuming every drywall product will work equally well.
Safety Precautions Before Starting
Check the area carefully before cutting into a wall. Electrical wires, plumbing pipes, and other hidden services may run behind the damaged section.
Use a suitable detector where appropriate, and avoid cutting blindly into an unknown wall cavity. How to Patch a Hole in a Wall If you suspect damaged wiring, leaking pipes, active moisture, or mold, address the underlying problem before making a cosmetic repair.
Wear eye protection when cutting or sanding. Keep children and pets away from repair dust, and follow the instructions on the product packaging.
How to Choose the Right Wall Repair Method
The best way to learn how to patch a hole in a wall is to identify the damage before buying materials. Hole size is important, but so are the wall material, the condition of the edges, and whether the surrounding surface is solid.
Repairing Tiny Nail and Screw Holes
Small nail holes, picture-hook marks, and shallow screw holes usually need only a suitable filler. Lightweight spackle is convenient for minor cosmetic repairs because it spreads easily and can be sanded after drying.
First, remove loose material and dust for How to Patch a Hole in a Wall Press the filler into the opening, smooth it with a putty knife, and allow it to dry according to the product label.
A second coat may be necessary if the filler shrinks or leaves a shallow depression. Once dry, sand lightly and prepare the spot for primer and paint.
Patching Small and Medium Drywall Holes
How to Patch a Hole in a Wall caused by a door handle, wall anchor, or accidental impact may be too large for spackle alone. These openings often need a patch that bridges the damaged area.
A self-adhesive mesh patch or metal-reinforced patch can support the repair compound over suitable openings. How to Patch a Hole in a Wall The patch must sit securely against a clean, stable wall surface.
Apply joint compound in thin layers rather than trying to hide the entire patch with one thick coat. Thin coats are easier to control and usually produce a flatter finish.
Repairing Large Holes in Drywall
How to Patch a Hole in a Wall Large holes require a stronger repair. Filler alone cannot replace missing drywall or provide reliable support across a wide opening.
The usual approach is to remove loose or damaged material, cut a clean opening, secure backing inside the wall, and install a replacement drywall piece. Tape and joint compound cover the seams.
This method takes more time than filling a nail hole, but it creates a stable base for finishing. How to Patch a Hole in a Wall If the damage extends across a large area or the surrounding drywall is soft, wet, or crumbling, investigate the cause before proceeding.
Repairing Holes in Plaster Walls
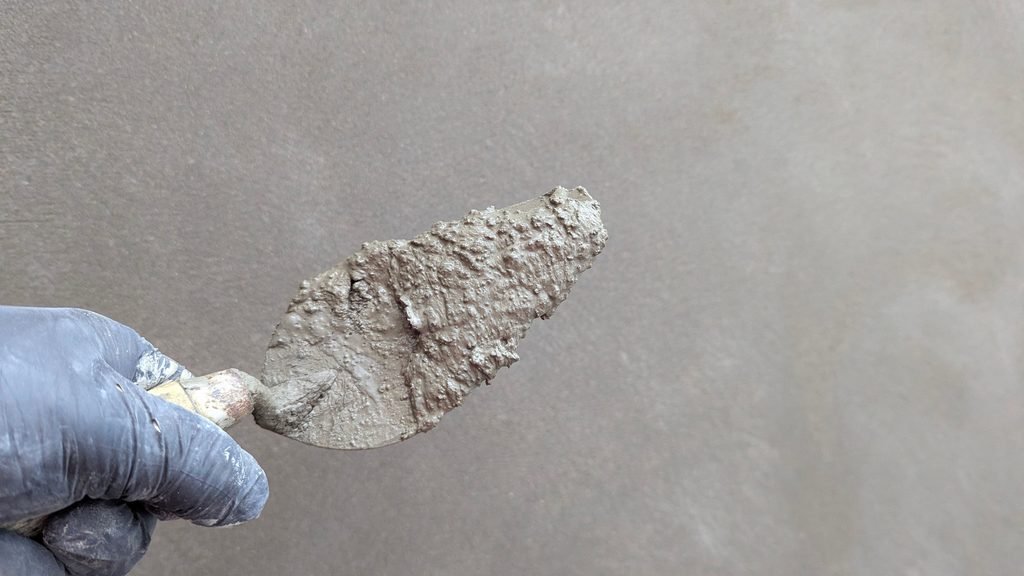
Older homes may have plaster walls rather than modern drywall. Plaster can crack, crumble, or separate from its supporting lath.
Small plaster defects may be suitable for a compatible patching compound. Deeper damage may need specialized plaster repair materials and a different preparation method.
Avoid pulling away sound plaster just to create a larger repair. How to Patch a Hole in a Wall If a wide area is loose or bulging, professional assessment may be necessary.
Quick Comparison: Which Repair Method Should You Use?
| Damage type | Recommended method | Key benefit | Limitation |
| Tiny nail hole | Spackle or wall filler | Fast, simple repair | Not suitable for large openings |
| Small screw or anchor hole | Spackle or compatible filler | Minimal tools required | Deep or enlarged holes may need more support |
| Medium drywall hole | Mesh or metal patch with joint compound | Bridges an opening | Needs several finishing coats |
| Large drywall hole | Replacement drywall with backing | Creates a supported repair | Requires cutting and measuring |
| Damaged plaster | Plaster-compatible repair material | Suits older wall construction | Technique depends on plaster condition |
| Damaged, damp wall | Investigate the cause first | Prevents covering an unresolved problem | Cosmetic repair must wait |
These categories are general guidelines, not rigid size limits. Select a method that gives the damaged area enough support and follows the repair product’s instructions for How to Patch a Hole in a Wall.
How to Patch a Hole in a Wall Step by Step
How to Patch a Hole in a Wall Follow these steps to repair wall damage from preparation through painting. The exact process depends on the hole size, but careful preparation and a smooth finish matter for every repair.
Step 1: Prepare and Clean the Damaged Area
Start by moving furniture away from the wall and placing a drop cloth underneath the work area.
Remove loose paint, broken drywall paper, crumbling plaster, and debris around the hole. Use a utility knife only where needed, and avoid enlarging the opening unnecessarily.
Wipe away dust so the repair compound can adhere properly. How to Patch a Hole in a Wall The surrounding surface should be stable and dry before you apply any filler.
If the wall has water stains, a musty smell, or signs of continuing moisture, stop and investigate. How to Patch a Hole in a Wall Patching over an active leak or damp drywall will not solve the underlying issue.
Step 2: Apply Spackle to Small Holes
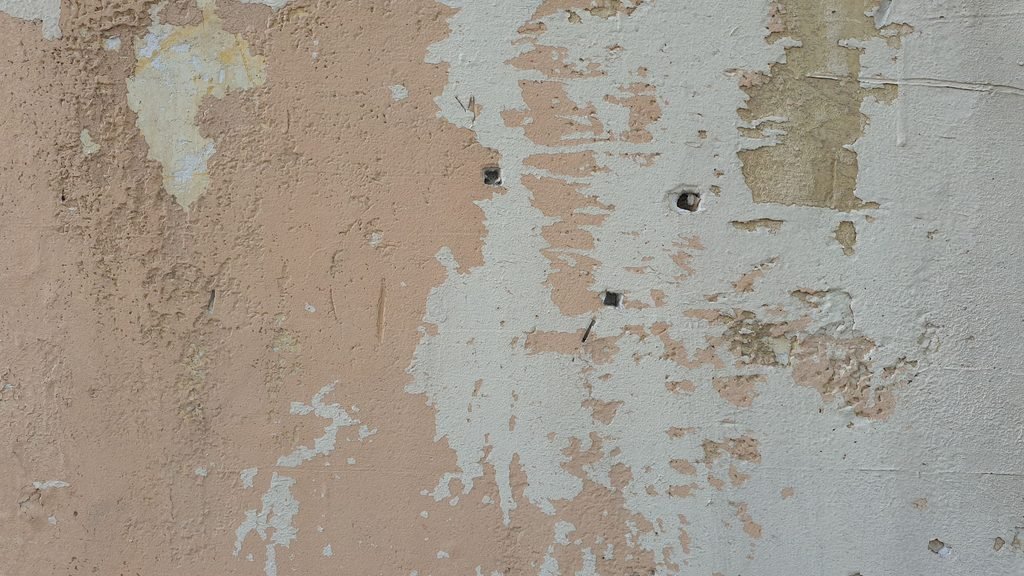
For tiny nail holes and shallow dents, use a small amount of spackling compound.
Press the filler into the hole with a putty knife. Draw the knife across the surface to remove excess material and leave the repair nearly flush with the surrounding wall.
Some fillers shrink as they dry. If a depression remains, apply another thin layer after the first coat has dried.
Do not sand wet spackle. How to Patch a Hole in a Wall Follow the product’s drying instructions, then lightly sand any raised edges with fine-grit sandpaper or a sanding sponge.
This is usually the simplest method for people learning how to patch a hole in a wall for the first time.
Step 3: Install a Patch for Medium Holes
For a suitable medium-sized opening, select a drywall repair patch that extends beyond the damaged edges as directed by its manufacturer.
Remove loose debris and smooth the surrounding surface. Center the self-adhesive mesh or metal patch over the hole, then press it firmly into place.
Use a drywall knife to spread a thin layer of joint compound across the patch. How to Patch a Hole in a Wall Extend the compound beyond the patch edges, gradually thinning it toward the surrounding wall.
Let the first coat dry fully. Apply additional thin coats as needed to cover the patch and create a smooth transition. Allow each coat to dry before adding another.
Do not use a surface patch over weak, damp, or badly crumbling drywall. If the patch cannot sit securely, cut back to solid material and use a supported repair method.
Step 4: Replace Drywall Around a Large Hole
For a large opening, first make sure it is safe to cut into the wall. Check for hidden wiring and plumbing, and avoid making cuts when you cannot confidently assess the area behind the surface.
Trim the damaged section into a clean square or rectangle, removing loose material without cutting into hidden services. Measure the opening and cut a replacement piece of drywall to fit.
Insert suitable wood backing strips or repair clips where needed. How to Patch a Hole in a Wall Secure the backing to sound drywall or appropriate framing, following the selected repair system’s instructions.
Fit the replacement drywall into the opening and fasten it securely. The patch should sit level with the existing wall, not stick out or sink noticeably.
Apply drywall tape over the seams if required by the repair method. Cover the seams and screw heads with joint compound, then allow the material to dry before applying additional coats.
If you are unsure about the wall structure, electrical safety, or how to support the replacement panel, get help from an experienced repair professional.
Step 5: Apply Joint Compound and Feather the Edges
Feathering means spreading joint compound beyond the repair and gradually thinning its edges. How to Patch a Hole in a Wall This helps the patch blend into the existing wall instead of creating a visible raised outline.
Use a wider drywall knife as you move through the finishing coats. Apply enough compound to cover seams and low spots, but avoid leaving a thick mound over the damaged area.
Allow each layer to dry completely. Several thin coats usually provide better control than one heavy application.
Inspect the repair from different angles under normal room lighting. Side lighting can reveal ridges, dips, and knife marks that are difficult to see from directly in front.
Step 6: Let the Repair Dry and Sand It Smooth
Drying time depends on the product, coat thickness, temperature, and humidity. Follow the package instructions rather than relying on a fixed number of minutes or hours.
Once the compound is fully dry, use a sanding sponge or fine-grit sandpaper to smooth raised areas. How to Patch a Hole in a Wall Work gently to avoid exposing the patch or damaging the surrounding paper surface.
Remove sanding dust with a suitable dry cloth or the cleaning method recommended for the material. Avoid soaking the repaired area.
If you find a low spot, deep scratch, or exposed seam, apply another thin coat of compound. Let it dry and sand again. The aim is a flat, even surface—not a repair that is merely covered.
Step 7: Prime and Paint the Repaired Area
Priming is an important part of a lasting cosmetic finish. Drywall compound and spackle can absorb paint differently from the surrounding wall, making an unprimed patch appear dull or uneven.
How to Patch a Hole in a Wall Apply a suitable primer to the repaired area and let it dry according to its label. For a large repair or a wall being repainted, choose the primer and paint system appropriate for the surface and existing coating.
Use matching paint and the same finish where possible. A small paint sample or test spot can help you judge the color before covering the repair.
Blend the paint carefully into the surrounding area. How to Patch a Hole in a Wall Keep in mind that older paint can fade, and even a correct color match may look different under changing light. For a large patch or a wall with noticeable color variation, repainting the entire wall may give a more consistent result.
How to Patch a Hole in a Wall Without a Patch Kit
You do not always need a complete drywall repair kit. For a small nail hole or shallow screw hole, a tub of suitable spackle, a putty knife, and sandpaper may be enough.
Clean the hole, press the filler into the opening, smooth the surface, and let it dry. Sand lightly if needed, then prime and paint.
However, household materials such as toothpaste, soap, paper, or flour mixtures are not reliable substitutes for proper wall repair products. They may shrink, crack, discolor, or fail to bond well with the surface.
How to Patch a Hole in a Wall A larger opening needs support. Do not fill a deep or wide hole with a thick mass of compound simply because a patch kit is unavailable. The material may take longer to dry and can leave an unstable or uneven repair.
For medium damage, purchase a compatible patch or use an appropriate supported repair method. For a large hole, replacement drywall and proper backing are generally more dependable than improvised filler.
How to Make a Wall Patch Blend In
The repair is not finished when the hole disappears. The surface also needs to blend with the surrounding wall after painting.
Sand Without Damaging the Repair
Use light pressure and keep the sanding tool moving. How to Patch a Hole in a Wall Concentrate on ridges and raised edges rather than removing large amounts of compound.
A sanding sponge can help reach edges and corners. For a broad repair, a suitable sanding block may create a more even surface.
Avoid aggressive sanding that tears the drywall paper or exposes the mesh patch. If you remove too much material, apply another thin coat and repeat the drying and sanding process.
Match Paint and Wall Texture
Matching the existing paint can be harder than filling the hole. How to Patch a Hole in a Wall Check the paint color, finish, and age of the surrounding surface.
Flat paint may hide minor differences more easily than glossier finishes, while semi-gloss and gloss can reveal changes in surface texture. Test the paint before deciding whether a spot repair will be sufficient.
Textured walls need extra care. Use a compatible texture product or suitable technique to imitate the surrounding pattern. Practice on a spare piece of material first if the texture is unfamiliar.
Avoid Common Wall Patching Mistakes
These mistakes can make an otherwise solid repair easy to spot:
- Using the wrong filler: Spackle is generally better for tiny holes, while larger repairs may require joint compound and structural support.
- Applying one thick coat: Thick compound can shrink unevenly and leave a raised patch.
- Skipping surface preparation: Dust and loose material can interfere with adhesion.
- Sanding too early: Wet compound can smear, tear, or pull away from the wall.
- Skipping primer: The repaired area may absorb paint differently and appear dull.
- Painting before the compound dries: Trapped moisture can affect the finish.
- Ignoring texture: A smooth patch may stand out on a textured wall.
- Ignoring the cause of damage: Moisture, movement, or weak drywall can lead to recurring problems.
How to Patch a Hole in a Wall Take your time with each stage. A smooth, paint-ready finish comes from correct preparation, suitable materials, thin coats, and complete drying.
Frequently Asked Questions
How do you patch a hole in a wall?
The method depends on the hole size and wall material. Fill tiny holes with spackle, use a suitable patch and joint compound for medium drywall holes, and install a supported drywall replacement for large openings. Allow the repair to dry, sand it smooth, prime, and paint.
What is the easiest way to fix a small hole in drywall?
The easiest approach is usually to apply spackling compound with a putty knife. Press it into the hole, smooth away excess material, let it dry, and sand lightly if needed. Finish with primer and matching paint.
Can you patch a hole in a wall without a patch kit?
Yes, if the damage is small enough for suitable spackle or wall filler. A patch kit is not essential for every nail hole or shallow dent. Medium and large openings need a suitable patch or supported repair method, rather than improvised household materials.
What is the difference between spackle and joint compound?
Spackle is commonly used for small holes, dents, and minor surface damage. Joint compound is widely used for drywall seams, tape, and larger finishing areas because it can be spread and feathered over a broader surface. Always follow the intended use and instructions for the specific product.
How do you fix a large hole in drywall?
Cut away damaged material to create a clean opening, secure suitable backing, and fit a replacement piece of drywall. Tape the seams where required, apply several thin coats of joint compound, and let each coat dry. Sand, prime, and paint after the surface is smooth.
How do you make a drywall patch invisible after painting?
Feather the joint compound beyond the repair, apply thin coats, and sand the surface carefully. Remove dust, prime the patch, and match the existing paint and texture. If the wall color has faded or the patch is large, repainting the whole wall may create a more uniform finish.
Conclusion: Get a Clean Finish With the Right Repair Method
Learning how to patch a hole in a wall becomes much easier when you match the repair method to the damage. Small nail holes usually need only spackle, medium drywall openings may need a patch and joint compound, and large holes require a supported replacement piece.
Prepare the surface carefully, use thin coats, allow the compound to dry fully, and sand without damaging the surrounding wall. Finish with primer, matching paint, and texture repair when needed.
How to Patch a Hole in a Wall Before starting, check that the wall is dry and safe to work on. Gather the right tools, choose suitable repair materials, and take your time with the finishing steps. A patient, well-prepared repair can restore the appearance of your wall without unnecessary complications or wasted supplies.